Introduction
Welcome to your crash course in crafting the perfect set of chompers for your fursuit! Whether you’re aiming to create a grin that’s irresistibly cute or a snarl that’s delightfully fearsome, understanding how to make fursuit teeth is your ticket to elevating your character’s charisma. This guide is all about demystifying the process, ensuring that even beginners can tackle this project with confidence.
Section 1: Understanding Fursuit Teeth
At their core, fursuit teeth are the secret spice that adds flavor to your fursuit’s expression and personality. They’re not just about aesthetics; they’re about bringing your character’s inner world to the outside.
Definition and Role
Fursuit teeth are the bespoke dental details that give your fursuit’s smile its unique character. Whether you opt for subtle pearly whites or menacing fangs, these additions are key in portraying your character’s species, mood, and personality. It’s all about choosing the right bite to match your furry friend’s bark!
Types of Fursuit Teeth
Depending on your character’s vibe, you’ll find yourself choosing from a menu of styles:
Realistic:
For those who want to keep it true to life, these teeth mirror the look of actual animals or humans.
Toony:
Go big or go home! These exaggerated teeth are all about fun, adding a cartoonish charm to your suit.
Sharp:
Bring out the predator in your character with teeth that scream ‘fierce’.
Flat:
Ideal for the gentle giants of the animal kingdom, flat teeth are all about a softer, kinder look.

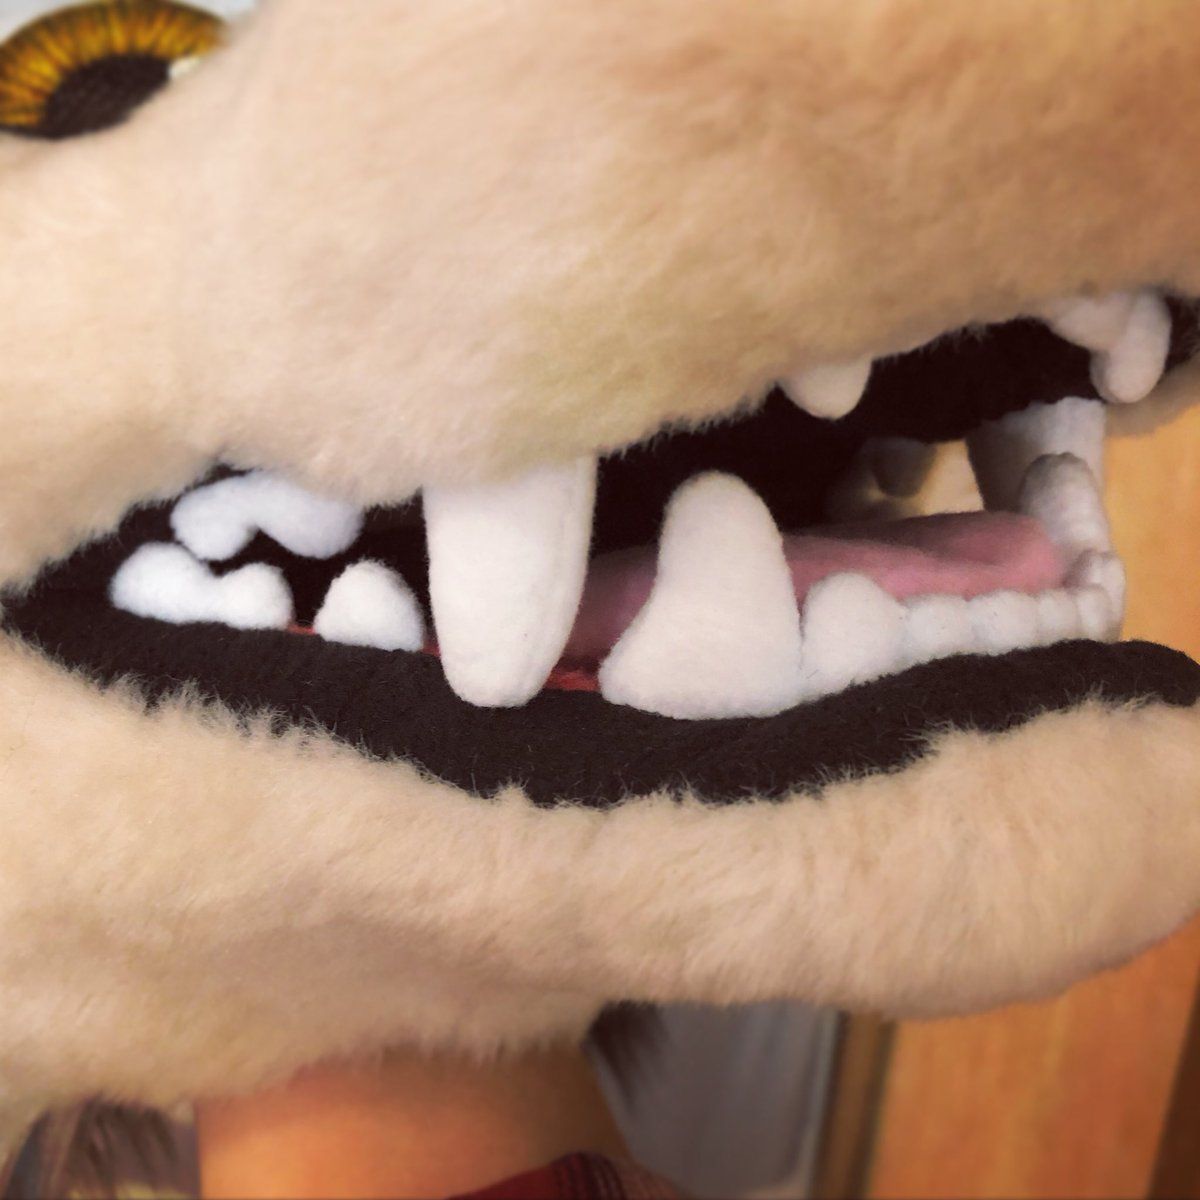
A Set of Canine Fursuit Teeth
Image via Pinterest
Materials Overview
Picking the right material for your teeth is like choosing the right tool for a job. Each option has its perks:
Polymer Clay:
A fan favorite for its flexibility and the fine detail you can achieve. Plus, it’s tough as nails after baking.
Resin:
When you’ve got a winning design, resin lets you replicate it perfectly. It’s durable and customizable with paint or dye.
Foam:
Light as a feather, foam is your go-to for those oversized, toony teeth that won’t weigh down your suit.
Thermoplastics:
For those who like to play it by ear, these materials are moldable with heat and cool into a solid form, offering a nice balance between ease of use and durability.
Choosing your material is about balancing aesthetics, comfort, and practicality. As we move forward, we’ll guide you through each step of the teeth-making process, from sketching out your design to attaching those pearly whites to your fursuit. Get ready to bite into the fun of fursuit crafting!
Section 2: Designing Your Fursuit Teeth
Now that we’ve got the basics down pat, it’s time to sketch, scheme, and sculpt your way to the perfect fursuit teeth. This part of the journey is where your creativity gets to shine, so let’s dive in!
Planning Your Design
First up, grab your pencil and let your imagination run wild. Sketching your design before you start crafting is like drawing a treasure map; it guides you to your goal. Think about the character your fursuit represents:
Are they a sly fox with a cheeky grin?
A noble wolf with a dignified demeanor?
Maybe a fantastical dragon with teeth that spark fear and awe?
Your sketches will help you decide on the size, shape, and style of teeth that best fit your character’s personality. Remember, this is your creation—there are no wrong answers here!
Material Selection
With your design in hand, it’s time to choose your crafting companion, a.k.a., your material. Here’s a quick recap to help you decide:
- Polymer Clay is your go-to for detailed, hardy teeth.
- Resin works wonders for creating multiple copies of a single design.
- Foam keeps things light and is perfect for those exaggerated, cartoon-style teeth.
- Thermoplastics offer a happy medium, being easy to shape and solid in form.
- Consider not just the look you’re going for but also think about the weight and feel of the material in the suit. Comfort is key, after all!

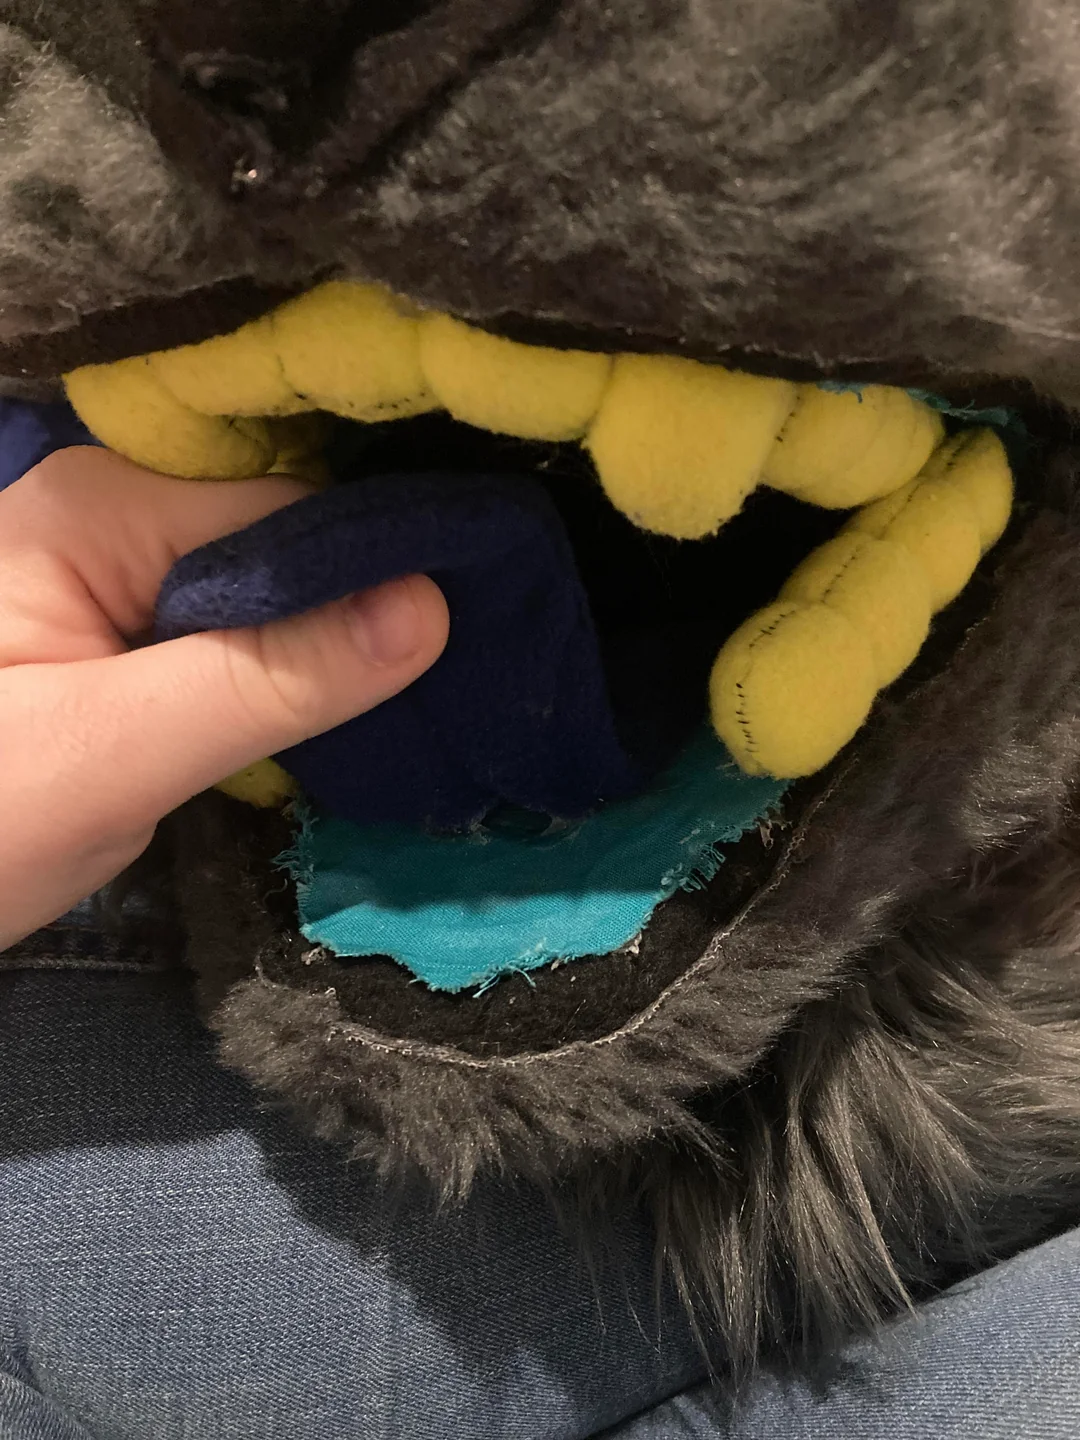
Image of Flatter Fursuit Teeth
Image via Reddit
Safety Considerations
A little PSA before you get down to business: safety first! Whether you’re baking, molding, or sculpting, make sure you’re doing it in a well-ventilated area. And always, always read and follow the safety instructions of the materials you’re using. Crafting is a lot less fun with a side of ouch or whoops.
Bringing Your Design to Life
With your design sketched and your material picked, it’s time to bring those teeth out of your imagination and into the world. Whether you’re molding, sculpting, or carving, keep your sketches close and your creativity closer. This is your moment to play god (or dentist) and craft the bite that brings your character to life.
Remember, perfection is not the goal here—expression is. So if your first attempt isn’t quite what you envisioned, no sweat! Every mistake is just a stepping stone to mastering the art of fursuit teeth making.
Stay tuned for the next chapter, where we’ll walk through the step-by-step process of crafting those gnashers, from initial sculpt to final attachment. Get ready to roll up your sleeves and get your hands dirty (figuratively speaking, of course)—it’s going to be a blast!
- Consider not just the look you’re going for but also think about the weight and feel of the material in the suit. Comfort is key, after all!
Section 3: Step-by-Step Guide to Making Fursuit Teeth
Alright, creative crafters, it’s showtime! You’ve got your design, you’ve chosen your champion material, and now it’s time to get hands-on. Follow these steps to turn that sketch into a snazzy set of fursuit teeth that will make your character smile, snarl, or smirk with style.
Step 1: Creating the Mold (If Applicable)
If you’re going down the resin route, you’ll start with a mold. Think of it as the blueprint for your masterpiece.
Sculpt Your Masterpiece:
Using a material like clay, sculpt the tooth exactly how you want your final product to look.
Make Your Mold:
Once your sculpture is just right, use silicone mold-making material to create a mold. Pour the silicone over your sculpted tooth, following the product’s instructions to a T.
Cure Time:
Patience is a virtue. Let the mold cure as directed before moving on to casting your teeth.
Step 2: Sculpting or Molding
For those using polymer clay, foam, or thermoplastics, you’ll sculpt or cut your teeth directly from your material of choice.
Polymer Clay:
Get kneading and sculpt the teeth based on your design. Use tools to add details and texture as needed.
Foam:
Draw the tooth shape on your foam, then cut it out with precision. You can use sandpaper to smooth edges or shape the foam further.
Thermoplastics:
Heat the material according to instructions, mold it to your desired shape, and let it cool into its final form.

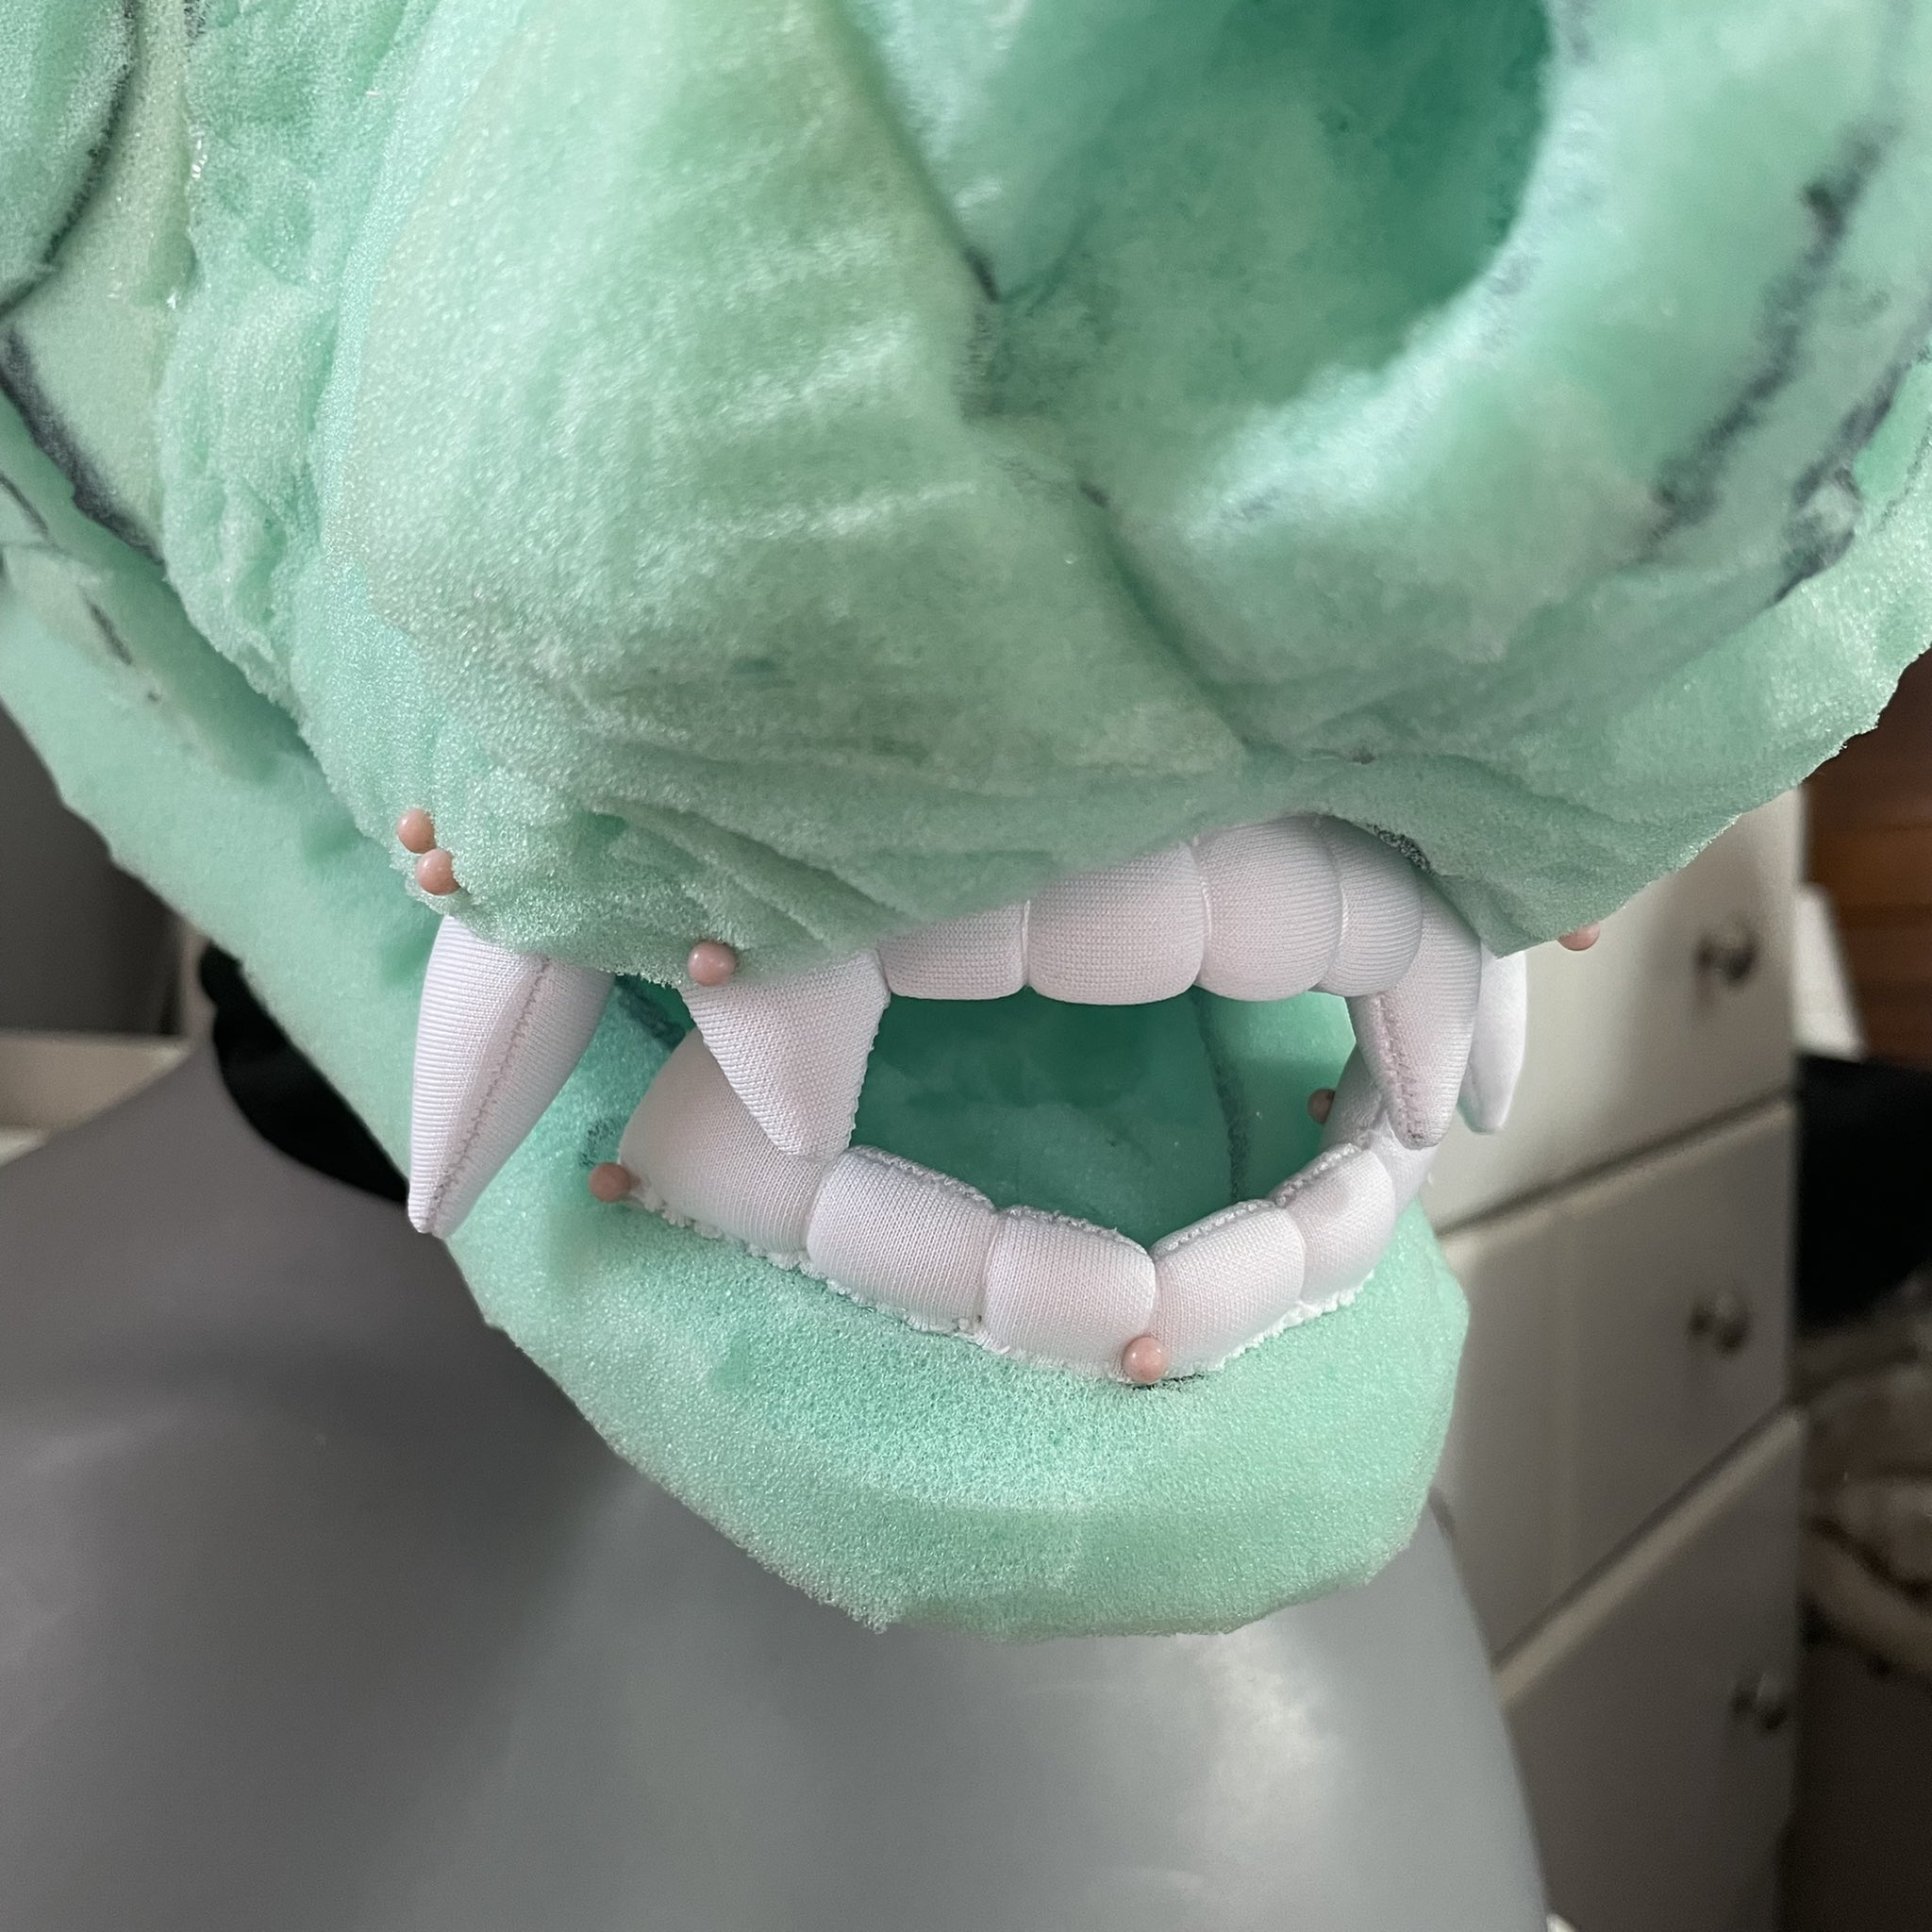
Photo of Fursuit Teeth Being Implemented Into A Foam Base
Image via Twitter
Step 3: Baking or Setting
Polymer Clay:
Once you’re happy with your sculpted teeth, bake them in the oven according to the clay manufacturer’s instructions. This step is where clay turns into durable teeth.
Resin Casting:
Mix and pour your resin into the silicone molds you’ve created, then wait for it to set. Voilà, you’ve got teeth!
Step 4: Painting and Finishing Touches
Now for the makeup phase, where your teeth get their final look.
Painting:
If your material isn’t the color you desire or you’re looking to add details, now’s the time to paint. Use acrylics for polymer clay and resin teeth. Just a few strokes can add that much-needed realism or cartoon effect.
Sealing:
Apply a sealant to protect your paint job and give your teeth a glossy or matte finish, depending on your character’s needs.
Step 5: Attaching to Your Fursuit
You’re in the home stretch! Attach your teeth to the fursuit head using strong adhesive (for hard materials) or by sewing them in place (if you’re using foam). Ensure they’re secure and positioned just right to capture your character’s expression perfectly.
And there you have it! Step back and admire your handiwork. Whether your fursuit character is a cheeky trickster with a mischievous grin or a noble beast with a regal smile, those teeth you’ve just crafted are the cherry on top of a fantastic creation.
Next up, we’ll share some pro tips and tricks to make the process even smoother and your results even more impressive. Stay tuned, and remember, practice makes perfect—and a bit of playful experimentation makes the journey all the more fun!
Section 4: Tips and Tricks for Masterful Fursuit Teeth Making
Congratulations on making it this far! By now, you’ve got a snazzy set of teeth ready to bring your fursuit’s smile, snarl, or smirk to life. But before we part ways, let’s dive into some insider tips and tricks to elevate your fursuit teeth crafting game. These nuggets of wisdom will help you avoid common pitfalls and achieve a professional finish, even on your first try.
Embrace the Power of Reference Images
Never underestimate the power of a good reference image. Whether you’re aiming for realism or cartoonish charm, having a visual guide can be incredibly helpful. Study images of real animals or artwork to understand how teeth are shaped and how they sit in the mouth. This can inspire your design and help you nail those intricate details.
Practice Patience in Sculpting and Curing
Patience truly is a virtue in crafting. Take your time when sculpting or molding your teeth. Rushing can lead to mistakes that are hard to correct later. Similarly, give your materials—whether it’s clay, resin, or thermoplastics—the proper time to cure or set. Trying to speed up the process can compromise the quality and durability of your teeth.
Experiment with Textures and Finishes
Adding texture can make a world of difference in the final look of your teeth. For instance, subtle indentations on polymer clay can mimic the natural grooves of teeth. When painting, consider using a mix of gloss and matte finishes to create a more lifelike appearance, especially if you’re going for realism.

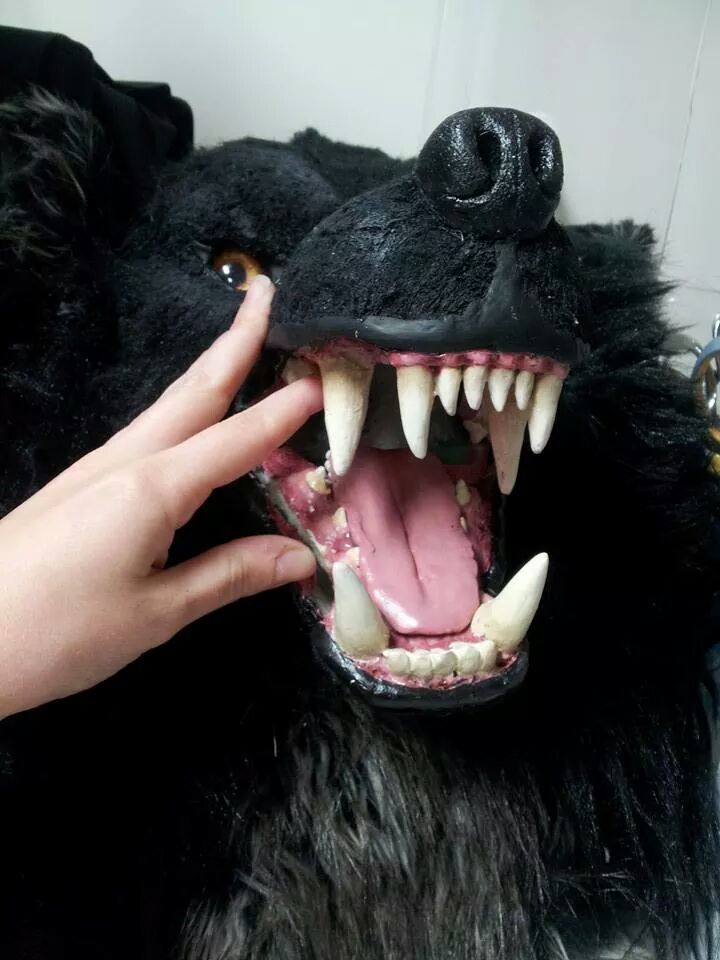
Example Realistic Fursuit Teeth
Image via DeviantArt
Secure Attachment Is Key
When attaching the teeth to your fursuit head, ensure they’re not just aesthetically pleasing but also securely fastened. Loose teeth can be a distraction and may even pose a choking hazard. Test different adhesives to find one that works best with your materials, or if sewing, make sure your stitches are tight and hidden.
Maintenance Matters
Lastly, remember that your fursuit teeth, like the rest of your suit, require care and maintenance. Clean them gently after use, especially if they’re painted, to keep them looking sharp for your next event. Store them in a way that avoids pressure or strain, which could lead to cracks or breaks.
Learn from Every Project
Each set of teeth you create is an opportunity to learn and improve. Don’t be discouraged by imperfections; instead, view them as stepping stones towards mastering the craft. Share your work with the community, seek feedback, and learn from the experiences of fellow fursuit makers.
Armed with these tips and a bit of practice, you’ll be well on your way to crafting fursuit teeth that add the perfect touch to your furry creations. Remember, the journey of crafting is as rewarding as the final product. So keep experimenting, keep learning, and above all, keep having fun with it!
That’s a wrap on our beginner’s guide to making fursuit teeth. We hope you’ve found this journey informative and inspiring. Whether you’re new to the furry fandom or looking to hone your crafting skills, remember that every detail you add to your suit makes your character more vibrant and alive. Here’s to many more successful crafting adventures ahead!


