Introduction
Ah, the furry badge—the ultimate calling card at any con or meet-up. It’s not just a piece of art, it’s a statement. A way to let everyone know exactly who your fursona is without even saying a word. Picture this: you’re walking through a bustling convention, surrounded by hundreds of fellow furries. Suddenly, someone stops in their tracks, drawn to the bright splash of color hanging from your lanyard—a furry badge that screams this is me! Cue the connection, and you’re chatting like old friends in no time.
Whether you’re a seasoned con-goer or preparing for your first furry meet-up, making your own badge is a must. Not only does it give you the chance to show off your fursona, but it’s also an awesome creative project (and a great conversation starter). So, let’s get into it—because trust me, you’re going to want a badge that does more than just say your name. You want it to shout your fursona’s personality from the rooftops!
Step 1: Decide on Your Fursona’s Representation
Before we get all artistic, let’s talk about the star of the show—your fursona! This badge is going to be your fursona’s debut to the world, or at least to the con crowd, so let’s make sure it represents everything you want it to. Think of it as a mini self-portrait, but with extra fur and probably a lot more flair.
Personality
First, what’s your fursona’s personality like? Are they the type to give everyone big, fluffy hugs or are they more of a cool, aloof character who watches the chaos from the corner with an amused smirk? Your badge should convey that at a glance. If your fursona is a sly fox, you might want them winking mischievously, but if they’re a gentle giant, a soft, welcoming smile might do the trick. If you want to know what animal most aligns with your personality, check out our fursona quiz here.
Species
Next up—species. Is your fursona a wolf, dragon, or something delightfully out-of-the-box like a hybrid? The species can help set the tone for the design. A tiger badge might look fierce with bold stripes and a strong stance, while a bunny badge could have a softer, cuddlier vibe. My friend made a badge of their fursona, who’s a mix between a lion and a sea otter (don’t ask me how that works, but it’s adorable). The trick is to bring out the unique traits of your fursona in a way that makes them recognizable and memorable, even on a small canvas.
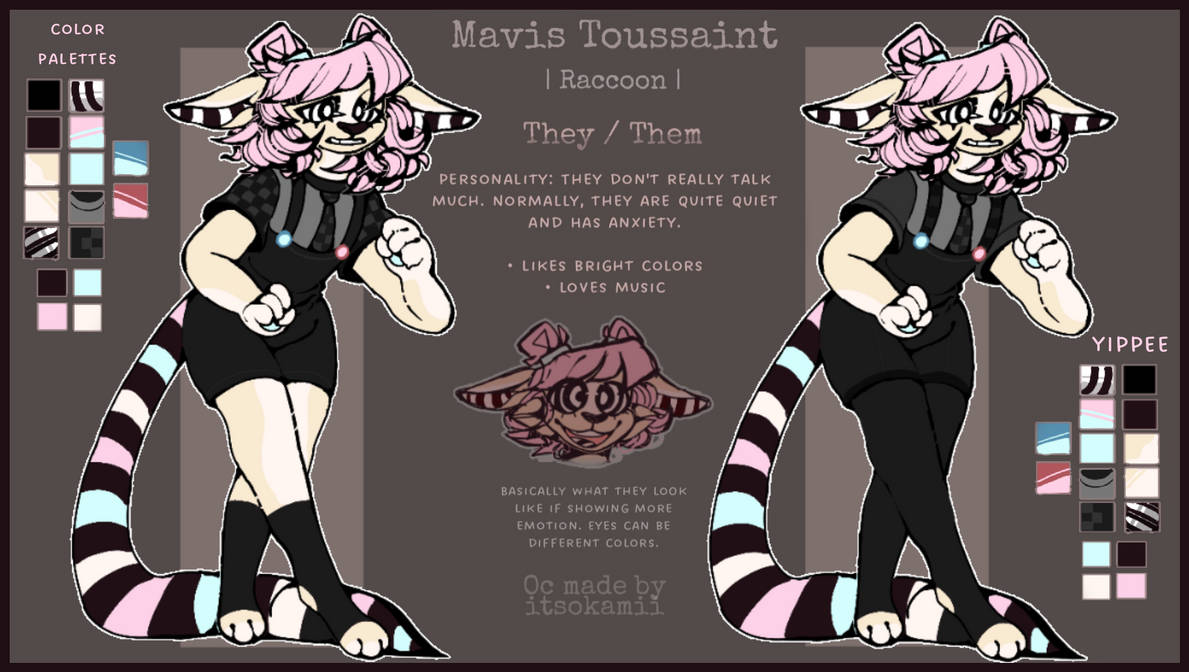
Reference Sheet That Breaks Down Fursona Personality
Image via DeviantArt
Pose
And then there’s the pose. A full-body action shot? A close-up of the face? Maybe something dramatic like a profile with wind in the fur. Whatever you choose, think about what best captures your fursona’s energy. I once helped someone whose fursona was a party-loving fox, and their badge had them throwing confetti like it was New Year’s Eve every day. Suffice to say, it got attention.
Your fursona is you in furry form, so make sure the badge shows off exactly what you want people to see when they meet your character for the first time. Whether it’s playful, powerful, or just downright adorable, this badge is your fursona’s first impression—so let’s make it count!
Step 2: Gather Your Materials
Now that you’ve nailed down how you want your fursona to be represented, it’s time to gather the tools you’ll need to bring that vision to life. Whether you’re going the digital route or sticking with traditional methods, having the right materials can make the process smooth and enjoyable (and avoid any last-minute panics—trust me, no one wants to be scrambling for a working pen right as inspiration strikes).
Digital Artists
If you’re working digitally, congratulations—you’ve already bypassed the “oops, I spilled water on my drawing” stage! But you’ll still want to make sure you have the right gear.
- Drawing tablet or iPad: Any reliable tablet with a stylus will work, but it’s best to go for something that gives you precision, especially since you’re working on a relatively small canvas.
- Software: You’ve got options, baby! Clip Studio Paint, Procreate, and Photoshop are all solid choices for creating digital badges. Each has its own perks—Procreate is wonderfully intuitive for iPad users, while Clip Studio Paint is practically designed for character artwork with its in-depth customization options.
- Printer access: Once your digital badge is done, you’ll need a high-quality printer. A laser printer is ideal for crisp lines and vibrant colors, but an inkjet can work wonders if you’re mindful of print settings. And don’t forget to print it on glossy cardstock—you want those colors to pop!
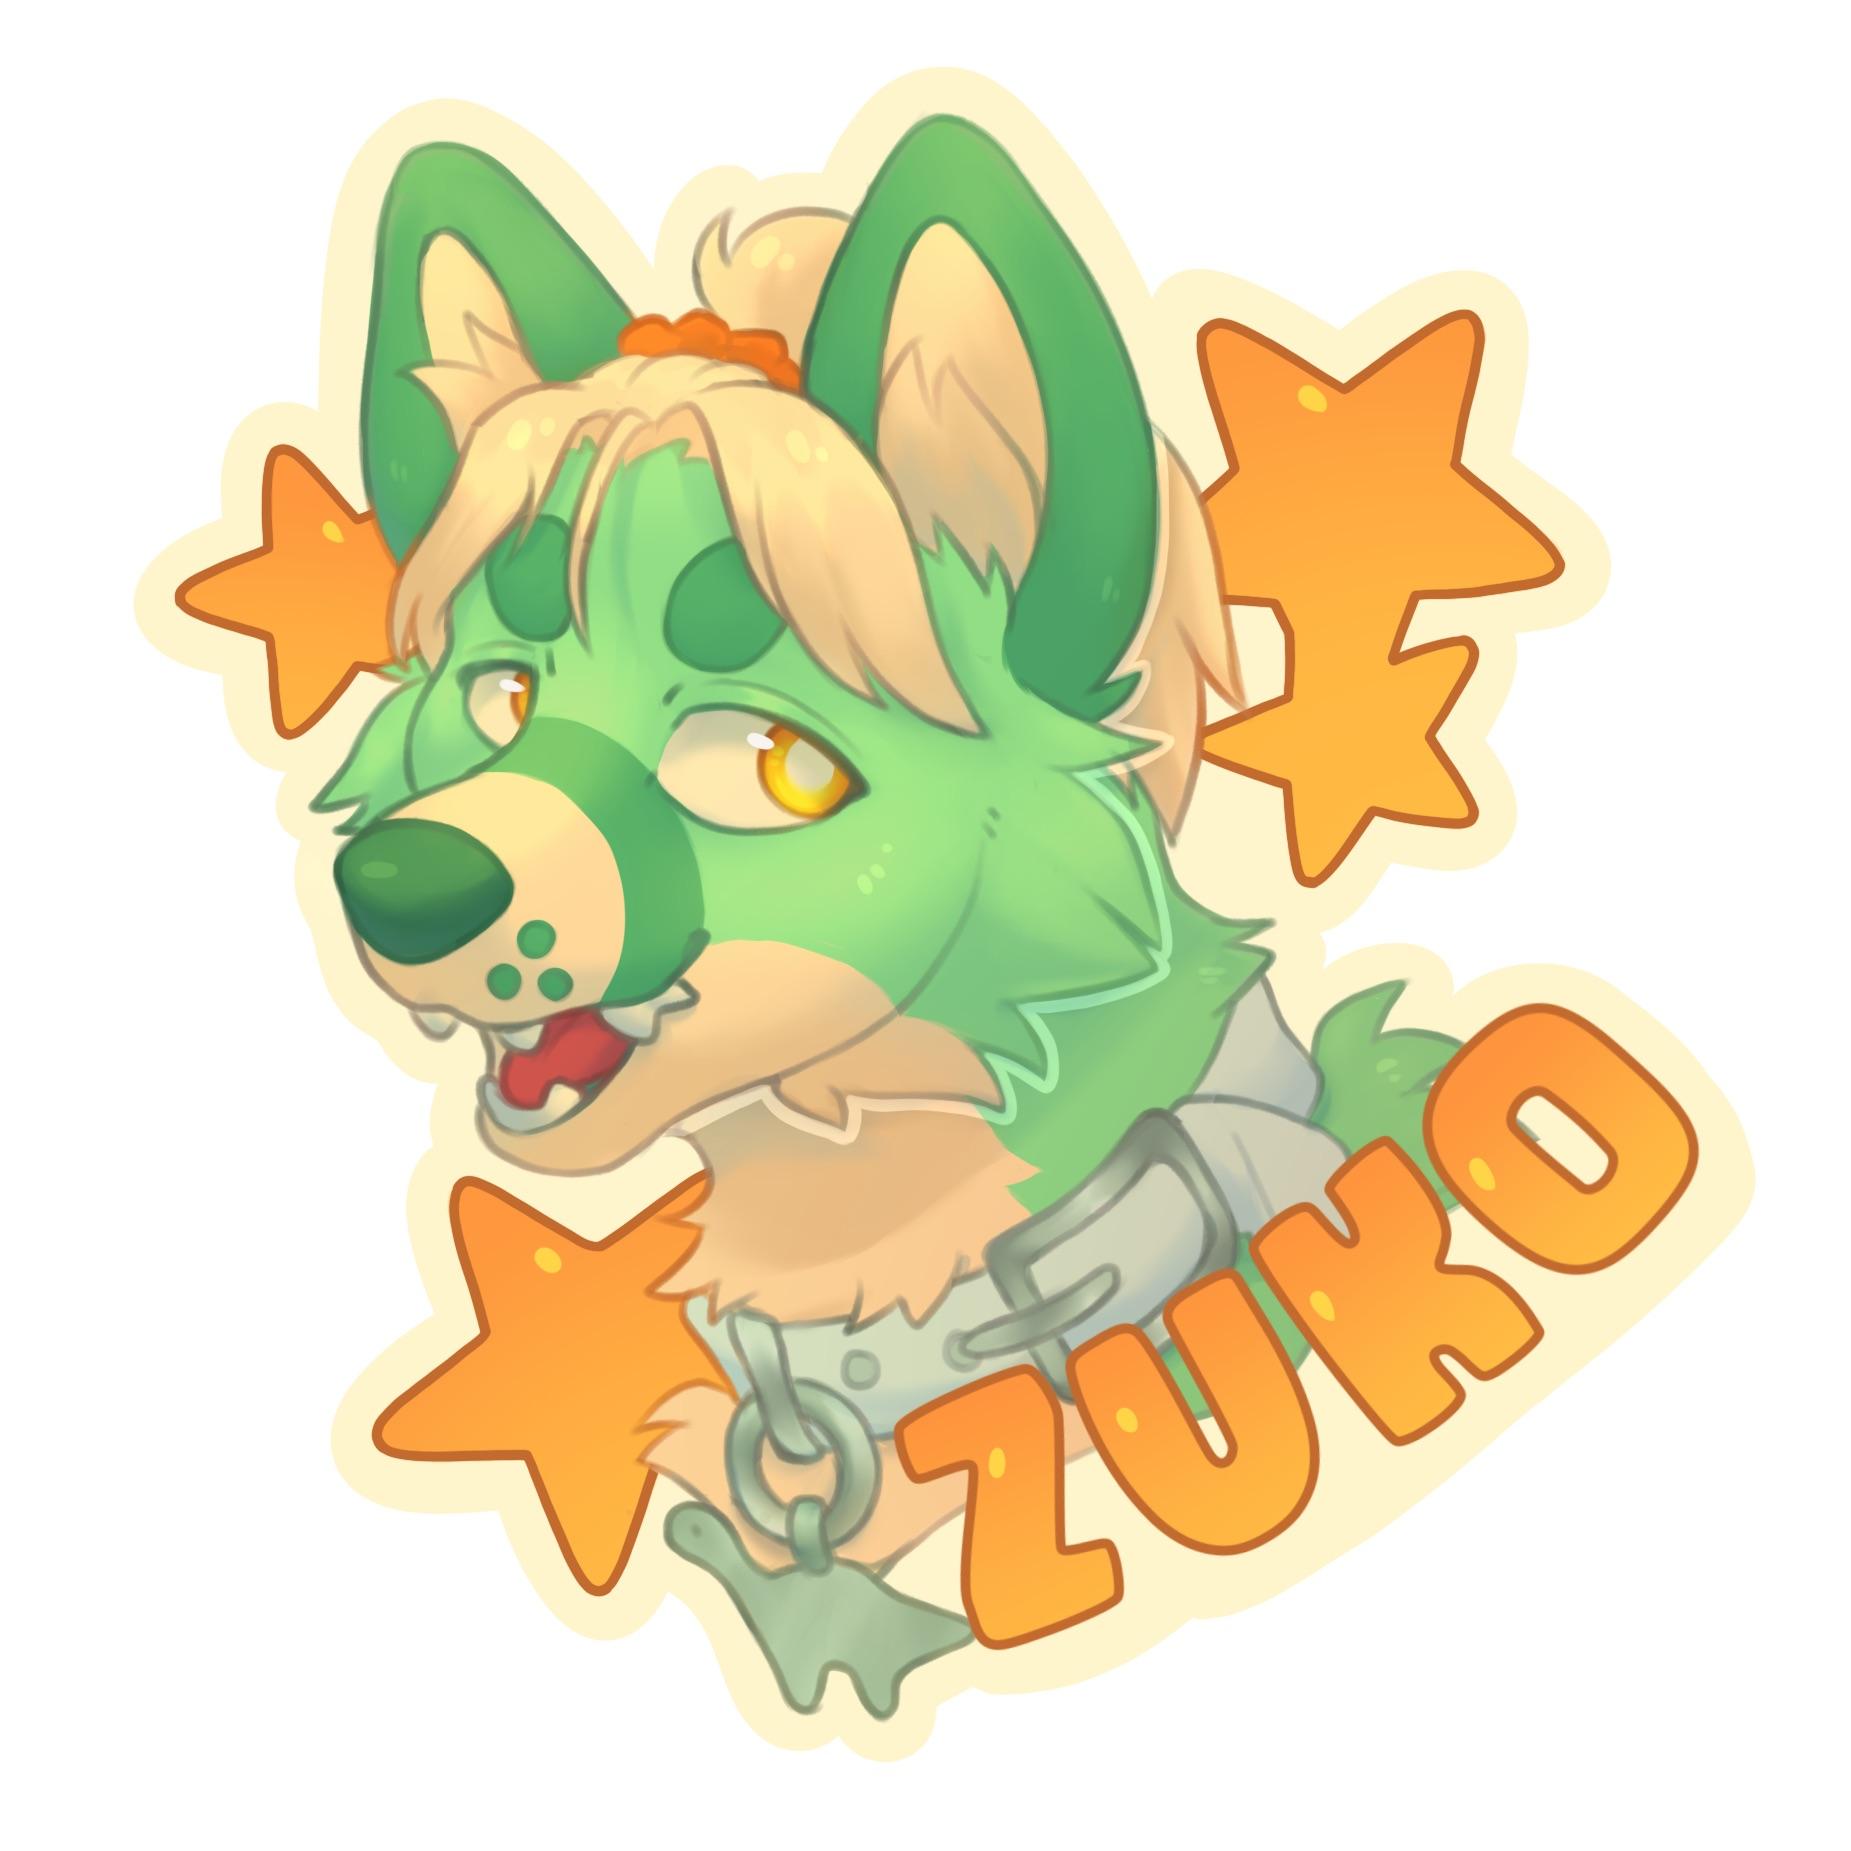
Example of Digital Furry Badge
Image via Reddit
Traditional Artists
If you’re more hands-on (literally), you’ll need to gather some classic supplies. A furry badge done by hand has a special kind of charm, and for some, the act of physically drawing or coloring is half the fun!
- Paper: Heavy-duty paper is your friend here. Cardstock or bristol board will give you a sturdy base to work on and make your badge durable enough to survive the chaos of a convention.
- Markers, colored pencils, or watercolors: Depending on your medium of choice, you’ll want to pick high-quality art supplies that allow for vibrant colors and smooth blending. Alcohol-based markers (like Copic or Prismacolor) are a favorite among traditional artists for their smooth, streak-free finish, while colored pencils can help you build up a lot of fine detail.
- Line art pens: Fineliner pens in various thicknesses are perfect for those clean, sharp outlines that will really make your character pop. Just be sure to use waterproof pens if you plan on adding watercolors or markers later!
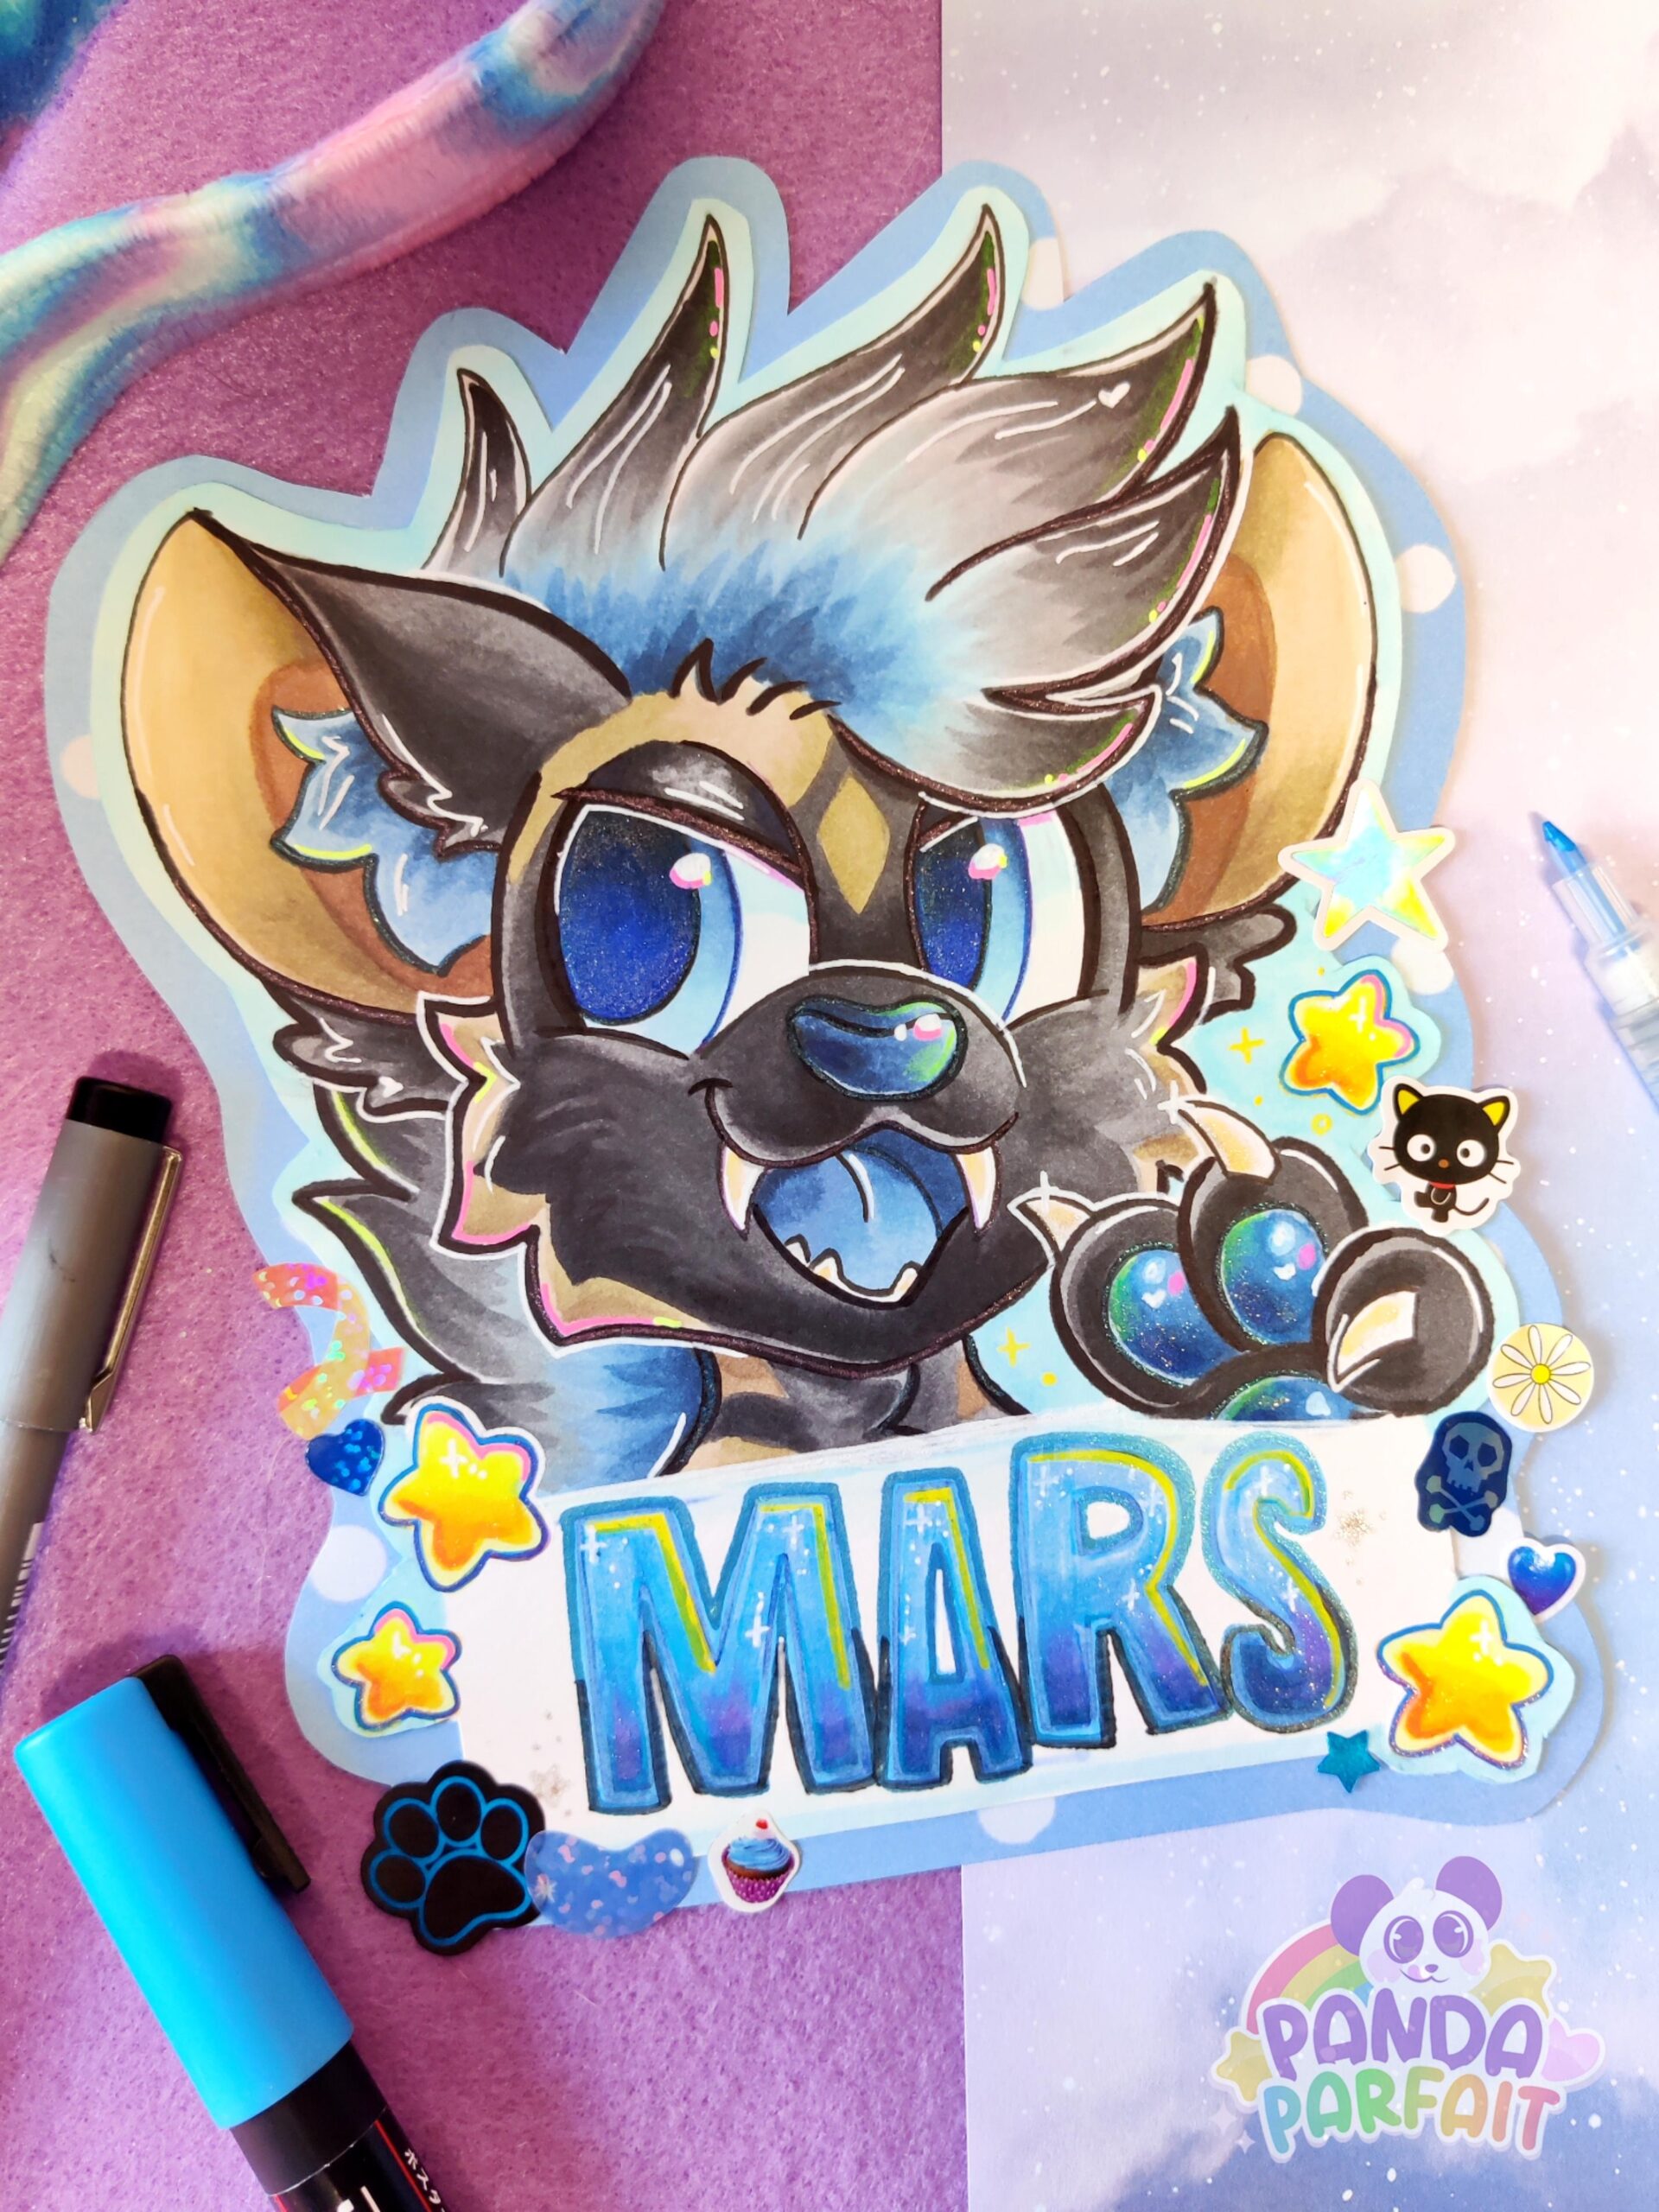
Example of Traditionally Drawn Furry Badge
Image via Reddit
Optional But Awesome Extras
- Lamination: Once your badge is done, laminating it is the cherry on top. It not only makes your badge look super polished but also protects it from the inevitable con-related wear and tear (con food stains, anyone?). You can buy a small laminating machine for home use or take it to a print shop for a professional finish.
- Badge clips or lanyards: Don’t forget how you’re going to display your masterpiece. Badge clips are great if you want something subtle, but a bright lanyard can be another opportunity for self-expression. Why not coordinate it with your badge’s color scheme or fursona’s personality?
Step 3: Sketch and Design
Now that you’ve gathered all your materials, it’s time to dive into the creative process—sketching your badge! This is where your fursona really comes to life. Whether you’re starting with a pencil or stylus, don’t worry about getting it perfect on the first try—this is your chance to play around with poses, expressions, and all the little details that make your fursona unique.
Start with a Rough Sketch
Begin with a rough sketch to get the general idea of what you want your badge to look like. Keep things loose and don’t stress about perfection just yet! You’re just laying down the foundation.
- Face or Full Body?: Decide if you want your badge to be a close-up of your fursona’s face or include their whole body. Some people love the full-body action shot, while others prefer a zoomed-in portrait that focuses on the face and expression. If you’re new to badge-making, starting with just a face can make the process less overwhelming, especially on a smaller scale.
- Pose and Expression: The pose is important! You want your fursona to reflect their personality. Is your character standing confidently with their arms crossed, or giving a thumbs-up with a grin? How about winking or sticking out their tongue for that extra bit of sass?
- Xege’s Storytime: I remember one time my friend tried to make her fursona look mysterious by giving them a dramatic side-eye. It ended up looking more like they’d just spotted someone stealing their fries. Moral of the story? Test out different expressions and see what fits!
Composition is Key
Think about how the different elements of your badge fit together. You’ll need to balance the character’s pose, any background elements, and, of course, your fursona’s name.
- Including the Name: Most furry badges include your fursona’s name, and you’ll want to pick a font style or hand-drawn lettering that complements your fursona’s personality. A bubbly, playful fursona might look great with some big, bold letters, while something more elegant could call for sleek, cursive text.
- Backgrounds: If you’re feeling extra creative, consider adding a background element—whether it’s simple shapes, a splash of color, or something that ties into your fursona’s theme (stars, paw prints, trees… the sky’s the limit). Just remember that the badge is small, so don’t overcomplicate it!
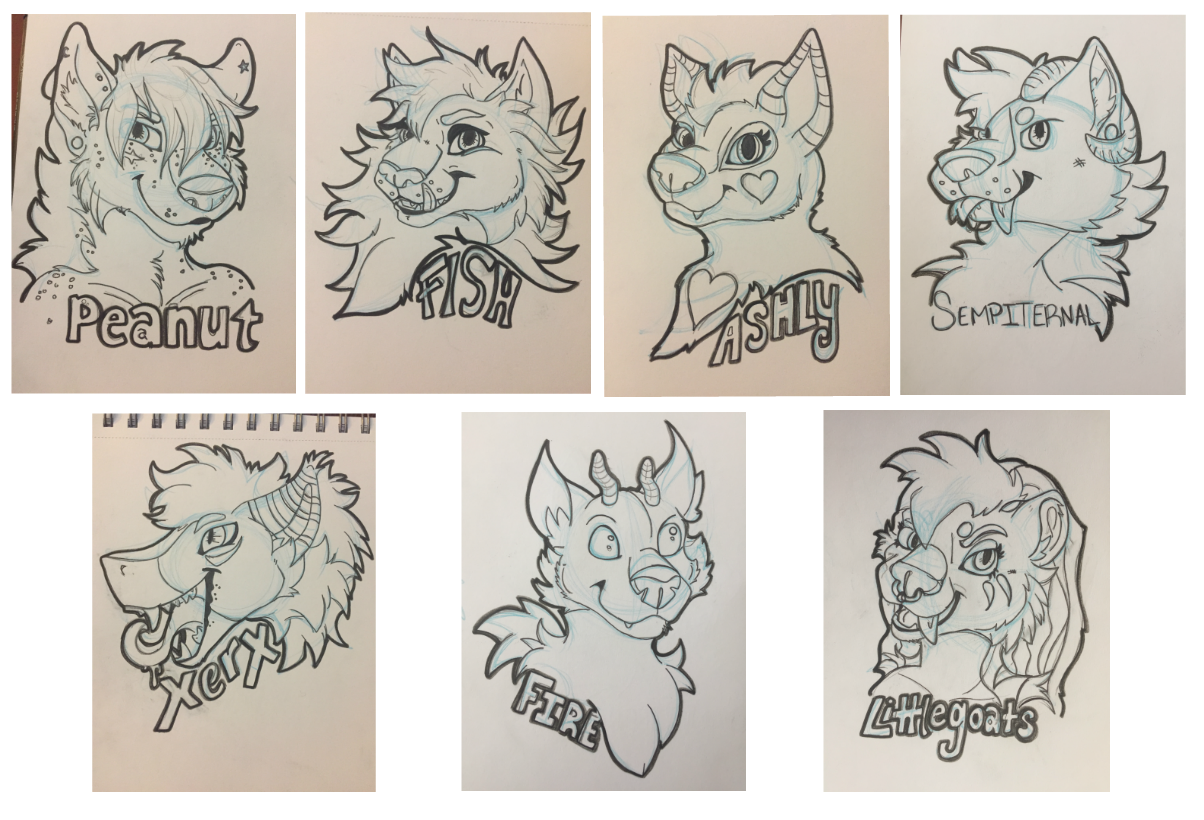
Examples of Furry Badge Sketches
Image via FurAffinity
Balance and Scale
Because badges are relatively small, you want to make sure that the important details are easy to see at a glance. Overloading your badge with too many elements can make it hard for others to tell what’s going on (and might even confuse you when you look at it later). Keep your design clean and focused, with attention on your fursona’s face, name, and maybe one or two background elements.
When working on the sketch, take time to resize and move things around until everything feels balanced. The goal is to make sure your badge is eye-catching, but not so busy that it’s hard to read.
Finalizing the Sketch
Once you’re happy with the rough sketch, you can start refining the lines. This is where things get crisp and polished—adding all the little details that give your badge personality, like fur texture, markings, and those all-important facial expressions. Don’t be afraid to go over your sketch a few times until it feels just right.
Step 4: Adding Color and Personality
Now that you’ve got your sketch all polished up, it’s time to bring your fursona to life with color! This is where your badge will really pop and capture attention. The colors, shading, and little details you choose will make your fursona stand out in a sea of badges. So, grab your markers, pencils, or stylus, and let’s add some personality to that sketch!
Choosing Your Color Scheme
Your fursona likely already has a color palette, so stick with what represents them best. However, on a badge, you might want to tweak the saturation or brightness a little to make sure the colors really stand out, especially if the badge is being viewed from a distance.
- Bold vs. Muted Colors: Bold, vibrant colors tend to catch the eye (and look fabulous on badges), but don’t be afraid to work with more muted or natural tones if that’s what suits your fursona’s vibe. Just make sure that there’s enough contrast between your fursona and any background elements so they don’t get lost in the mix.
- Shading and Highlights: Adding depth to your badge with shading and highlights can make your character look more dynamic. If you’re working digitally, use layers to experiment with different lighting effects. If you’re working traditionally, you can use colored pencils or markers in slightly darker shades to add subtle shadows. Don’t forget the highlights in the eyes—that’s what brings the sparkle and makes your fursona feel alive.
Playing with Text
Next, let’s talk about that all-important name. Whether you go for hand-drawn lettering or a specific font, this is your chance to give your badge a real sense of personality.
- Text Style: Think about your fursona’s personality. Is their name bold and blocky like a superhero logo? Or maybe it’s more whimsical, with fun curves and flourishes? The text should feel like an extension of your fursona. You can also play with colors—maybe it’s a rainbow of neon hues or a gradient that matches the rest of the badge.
- Text Placement: The name typically sits under the character’s face or somewhere that doesn’t distract from the main design. You want it to be visible but not overwhelming. Play around with different placements until you find one that feels balanced.
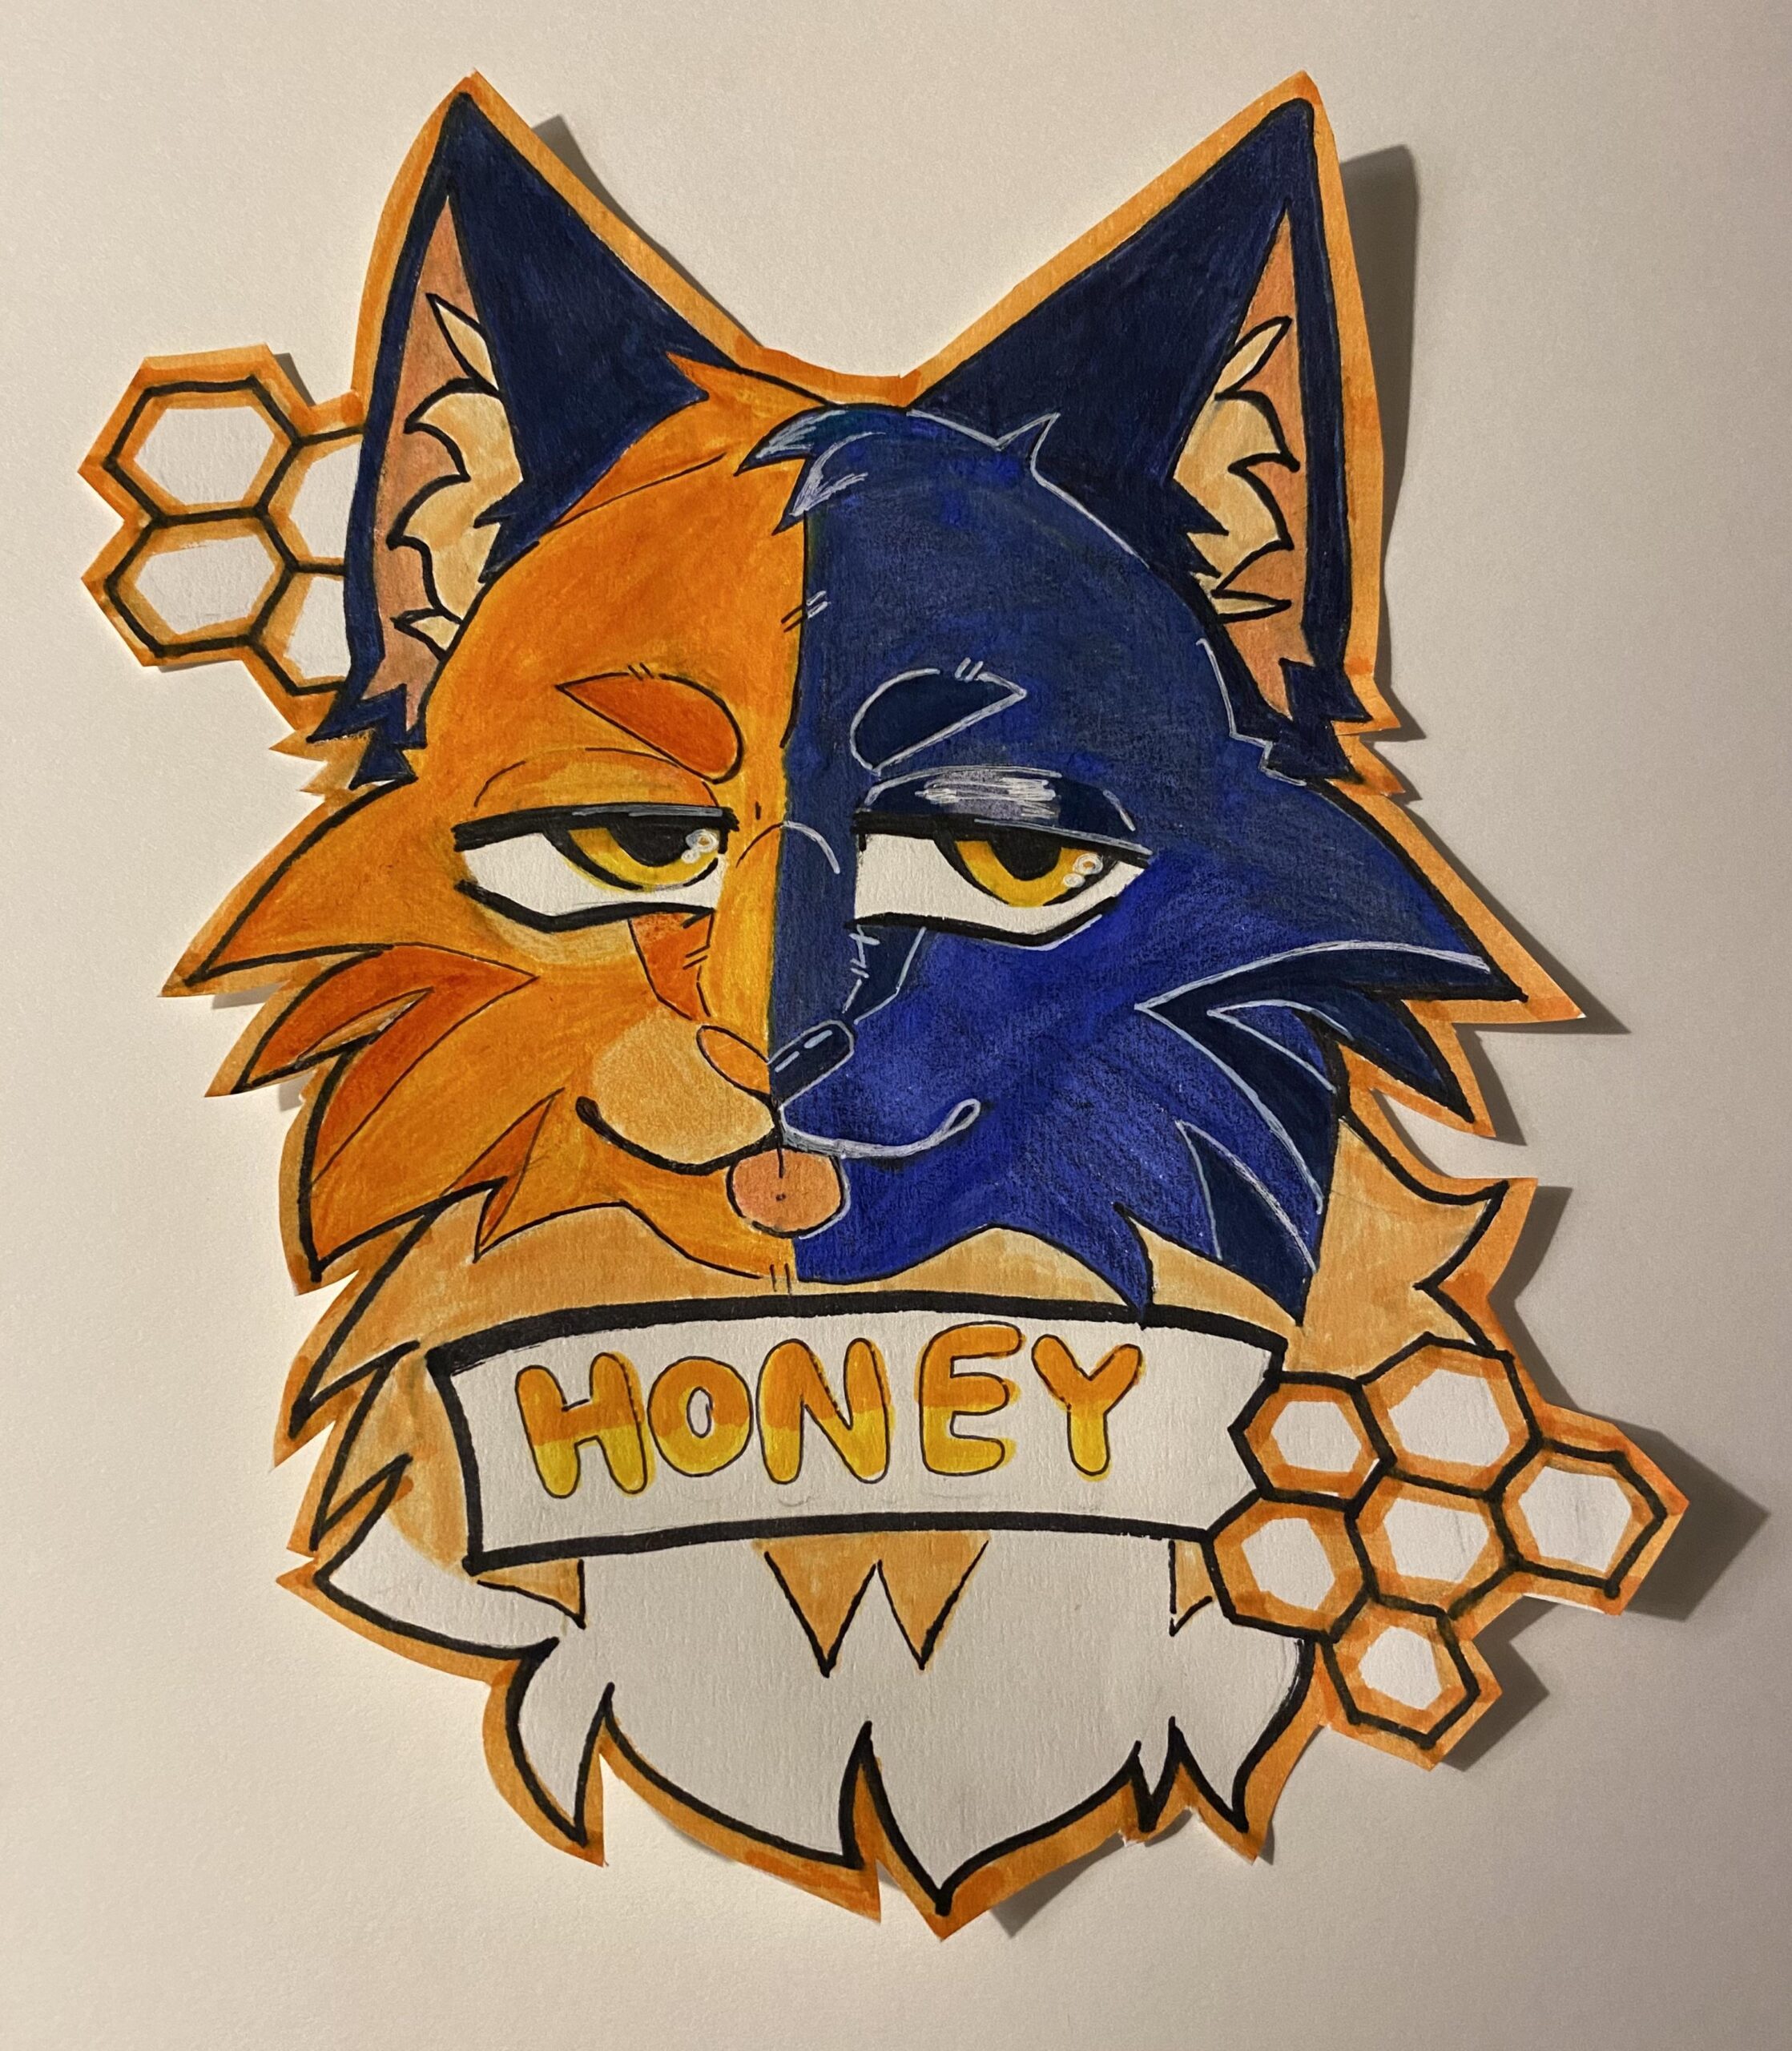
Example of Creative Text on a Furry Badge
Image via Reddit
Add Your Personal Flair
This is where you can really let your creativity shine! Think about any special details or unique touches that make your fursona different from the rest. Do they have an accessory, like a scarf or sunglasses? How about a funky fur pattern? This is your chance to add all those little personal elements that make your fursona your fursona.
- Patterns and Markings: If your fursona has stripes, spots, or other distinct markings, make sure to add those in! These details can make your badge even more eye-catching and help define your character.
- Fun Effects: If you’re feeling adventurous, add a little sparkle (literally)! You can sprinkle in glitter, neon, or holographic effects, especially if you’re working with traditional materials. There’s nothing wrong with going a bit extra—after all, this is your badge!
Pro Tip: Keep it Simple (But Not Too Simple)
When adding color and details, remember that less is often more, but that doesn’t mean you can’t have fun! You don’t want your badge to look too busy or cluttered, but you also don’t want it to be so minimal that it lacks personality. The sweet spot is somewhere in between. Add those unique touches, but keep your fursona as the focal point.
At this stage, you should really start to see your badge take shape, transforming from a sketch into a vibrant expression of your fursona. Whether you go for bright, bold colors or something more subdued, this is your chance to let your creativity—and your fursona’s personality—shine through!
Step 5: Printing and Laminating
Now that your badge design is all done, it’s time to make it real! Whether you’re working digitally or traditionally, the finishing touches—printing and laminating—will give your badge that polished, professional look, and make sure it’s durable enough to survive the chaos of conventions, meet-ups, or even just hanging on your wall as a proud display.
For Digital Artists: Best Practices for Printing
If you’ve created your badge digitally, your next step is to print it out. Here’s how to get the best result:
- High Resolution: Make sure your digital file is at least 300 DPI (dots per inch) for a crisp, clean print. This resolution will ensure that all the details in your badge—your fursona’s fur textures, color gradients, and even tiny text—come through clearly.
- Paper Type: Go for glossy cardstock or heavy-duty paper. Glossy paper will make the colors pop and give your badge a professional shine, while the thickness of cardstock will make it sturdy enough to handle being worn over and over.
- Printer Settings: If you’re printing at home, check your printer’s settings. Use the highest quality setting available and make sure you’re printing on the correct paper type for the best color accuracy. If your home printer isn’t up to the task, don’t worry—you can always take your file to a local print shop, where they’ll have high-quality printers that can give your badge a polished look.
For Traditional Artists: Preparing Your Badge for Print
If you’ve created your badge by hand, you’ll want to take extra care to preserve your masterpiece before printing.
- Scan It: Use a high-resolution scanner (300 DPI or higher) to digitize your badge. This will help you back it up and prepare it for printing, especially if you plan on making multiples or sharing it online.
- Adjusting Colors: After scanning, you might need to do a bit of touch-up work in a program like Photoshop or GIMP. Scanned colors can sometimes look a little washed out, so a little tweaking with contrast and saturation can make your fursona look as vibrant as they do on paper.
- Paper Choices: Once scanned and ready, you’ll print your badge on the same glossy cardstock or heavy-duty paper as a digital artist would use. This will give your traditional art the durability it needs to be a wearable piece of art.
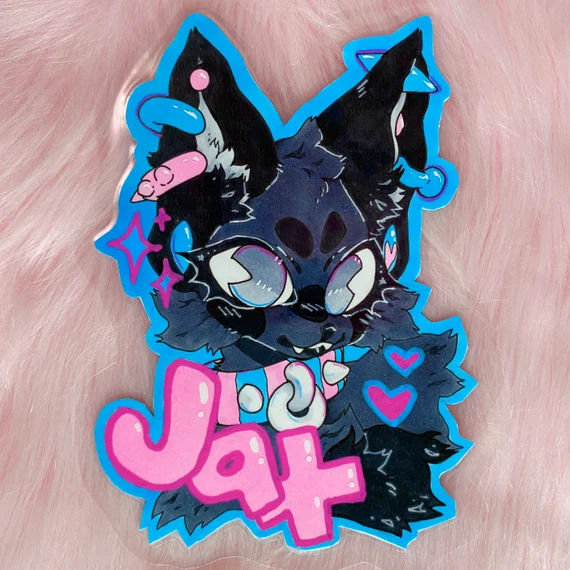
Fully Laminated Furry Badge
Image via Etsy
Lamination Options
Lamination is what will take your badge from cool to con-ready. It protects your badge from water, wear, and tear, making it something you can show off for years to come. You’ve got a couple of ways to go about this:
- Home Laminator: If you’re a DIY kind of person, investing in a small laminating machine is a great idea. These machines are fairly affordable and super easy to use—just slide your badge into the plastic pouch, feed it through the laminator, and voilà! A perfectly laminated badge.
- Print Shop: If you don’t have a laminator at home, or if you want a more professional finish, take your badge to a print shop. Many places offer laminating services, and they often have thicker, more durable laminate options than a home machine can provide.
Cutting and Finishing
Once your badge is laminated, it’s time for the final step: cutting it out.
- Leave a Border: When cutting around the edges, leave a small border of laminate (about 1/8 inch) around the design. This ensures that the laminate stays sealed and your badge doesn’t peel over time.
- Add a Clip or Lanyard: Finally, punch a hole at the top of your badge and attach a badge clip or lanyard. If you’re really feeling fancy, you can find lanyards that match your fursona’s theme or colors to take your badge presentation to the next level.
Conclusion
And there you have it! Your very own furry badge, ready to show off at conventions, meetups, or even just hanging by your desk as a daily reminder of your fursona’s awesomeness. Making a furry badge is more than just a fun art project—it’s a way to express yourself and connect with others in the fandom. It’s like wearing your fursona’s heart (and maybe some glitter) on your sleeve, ready to spark conversations and make new friends.
Remember, there’s no right or wrong way to create a badge. Whether you go all out with bold colors and glitter, or keep it simple and sleek, the most important thing is that it represents you (or, well, your fursona!). Don’t stress too much about perfection—art is meant to be fun and reflective of your unique personality.
So, now that you’ve created your badge, it’s time to show it off! Snap a picture and share it online, bring it to your next con, or proudly wear it at the next furry meet-up. Who knows? Maybe someone will stop you, admiring your badge, and you’ll make a new friend right on the spot.

